In this tutorial, How to install Netdata on RHEL 7 / CENTOS 7.
Netdata is performance and health monitoring for systems and applications. It is a monitoring agent you install on all your systems.
Table of Contents
Why use Netdata
- High-resolution metrics
- Monitors everything
- Install and get results immediately
- Requires zero dedicated resources
- Open-source, free and very easy
- Auto-scaling of chart units
- Time-series back-ends supported – it can archive its metrics on graphite,
opentsdb , Prometheus, JSON document DBs, in the same or lower detail
Install Netdata on RHEL 7 / CENTOS 7 from source
Install EPEL Repository
[vagrant@DevopsRoles ~]$ sudo yum install -y epel-releaseInstalling all dependencies for Netdata.
[vagrant@DevopsRoles ~]$ sudo yum install Judy-devel libuv cmake json-devel autoconf-archive autogen json-c-devel libmnl-devel libuv-devel lz4-devel nmap-ncat openssl-devel python3 git zlib-devel libuuid-devel libmnl gcc make git autoconf automake pkgconfig curl findutilsClone Netdata from Github
[vagrant@DevopsRoles ~]$ git clone https://github.com/netdata/netdata.git --depth=100
[vagrant@DevopsRoles ~]$ cd netdata/
The build and installation Netdata on RHEL 7 / CENTOS 7
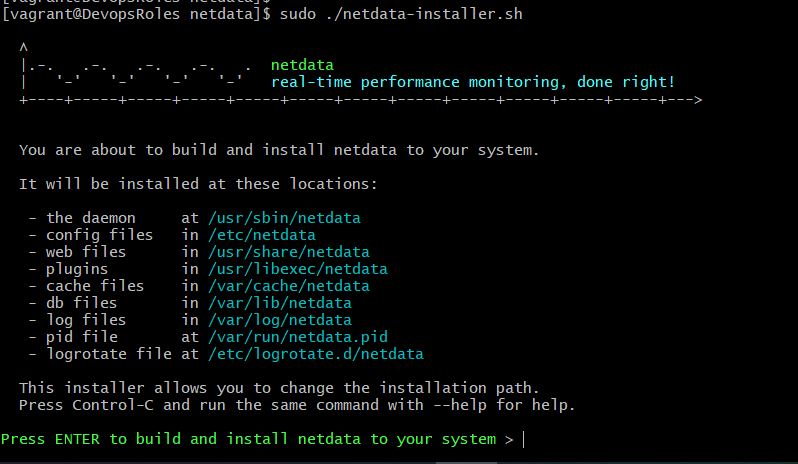
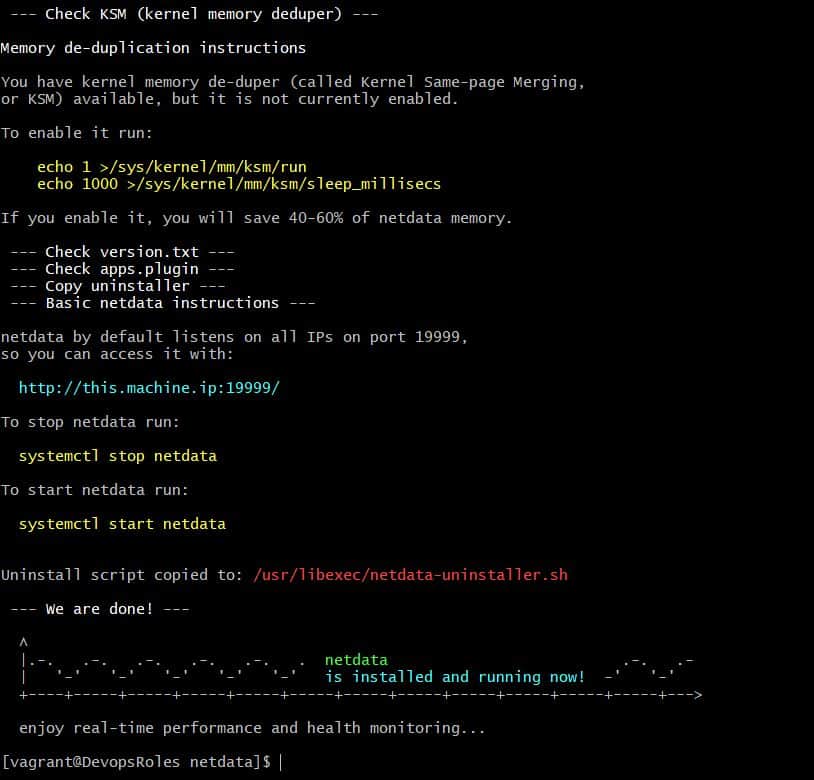
[vagrant@DevopsRoles ~]$ sudo ./netdata-installer.shThe output terminal as the picture below


Netdata service will start auto after installation.
To stop netdata run
[vagrant@DevopsRoles ~]$ sudo systemctl stop netdataTo start netdata run
[vagrant@DevopsRoles ~]$ sudo systemctl start netdataAccesing Netdata from Browser
The default listens on all IPs on port 19999. If you have firewalld, allow access to this port within LAN.
[vagrant@DevopsRoles ~]$ sudo firewall-cmd --permanent --add-rich-rule 'rule family="ipv4" \
source address="192.168.1.0/24" port protocol="tcp" port="19999" accept'
Reload Firewalld to apply changes
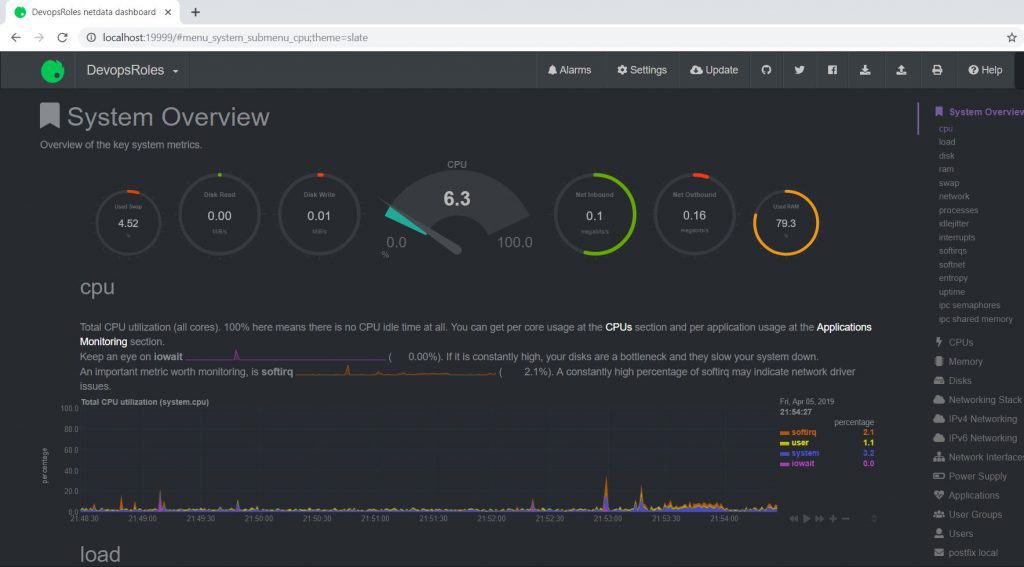
[vagrant@DevopsRoles ~]$ sudo firewall-cmd --reloadAccess Netdata Web dashboard on server

Thank you for reading the DevopsRoles page!

4 thoughts on “Install Netdata on RHEL 7 / CENTOS 7”