Table of Contents
Introduction
How to install and configure jira on Centos. Installing and configuring JIRA on CentOS involves a series of systematic steps to set up this popular project management tool effectively. Begin by preparing your CentOS system with the necessary prerequisites, including Java. Then, download and install the JIRA software from Atlassian’s official site. Configuration involves setting up a database, typically PostgreSQL or MySQL, and adjusting the JIRA setup wizard to connect to your newly prepared database. This process ensures that JIRA runs smoothly on CentOS, providing a robust platform for managing your projects. Now, let’s proceed with the JIRA installation and configuration on CentOS.
JIRA installing
Install Java
[vagrant@DevopsRoles ~]$ sudo yum install java-1.8.0-openjdk*Install MySQL on Centos 7
Link refers to installing MySQL here.
Create a user for installation jira.
[vagrant@DevopsRoles ~]$ sudo useradd jira
[vagrant@DevopsRoles ~]$ sudo passwd jira
[vagrant@DevopsRoles ~]$ echo "jira ALL=(ALL) NOPASSWD:ALL" | sudo tee -a /etc/sudoers
[vagrant@DevopsRoles ~]$ su -l jira
Password:
[jira@DevopsRoles ~]$
Create a temporary install directory:
[jira@DevopsRoles ~]$ mkdir jira && cd jiraDownload jira
Link download here:
[jira@DevopsRoles jira]$ wget https://product-downloads.atlassian.com/software/jira/downloads/atlassian-jira-software-8.13.4-x64.bin
[jira@DevopsRoles jira]$ ls -l
total 399948
-rw-rw-r--. 1 jira jira 409545222 Feb 15 11:02 atlassian-jira-software-8.13.4-x64.bin
[jira@DevopsRoles jira]$ chmod u+x atlassian-jira-software-8.13.4-x64.bin
[jira@DevopsRoles jira]$ ./atlassian-jira-software-8.13.4-x64.bin
The result is as follows:
[jira@DevopsRoles jira]$ ./atlassian-jira-software-8.13.4-x64.bin
Unpacking JRE ...
Starting Installer ...
You do not have administrator rights to this machine and as such, some installation options will not be available. Are you sure you want to continue?
Yes [y, Enter], No [n]
y

This will install Jira Software 8.13.4 on your computer.
OK [o, Enter], Cancel [c]
o
Click Next to continue, or Cancel to exit Setup.

Choose the appropriate installation or upgrade option.
Please choose one of the following:
Express Install (use default settings) [1], Custom Install (recommended for advanced users) [2, Enter], Upgrade an existing Jira installation [3]
1

Details on where Jira Software will be installed and the settings that will be used.
Installation Directory: /home/jira/atlassian/jira
Home Directory: /home/jira/atlassian/application-data/jira
HTTP Port: 8080
RMI Port: 8005
Install as service: No
Install [i, Enter], Exit [e]
i

Extracting files ...


Please wait a few moments while Jira Software is configured.

Installation of Jira Software 8.13.4 is complete
Start Jira Software 8.13.4 now?
Yes [y, Enter], No [n]
y

Please wait a few moments while Jira Software starts up.
Launching Jira Software ...

Installation of Jira Software 8.13.4 is complete
Your installation of Jira Software 8.13.4 is now ready and can be accessed
via your browser.
Jira Software 8.13.4 can be accessed at http://localhost:8080
Finishing installation ...
[jira@DevopsRoles jira]$
JIRA’s directory structure looks like this:
[jira@DevopsRoles jira]$ cd ../
[jira@DevopsRoles ~]$ ls -l
total 0
drwxrwxr-x. 4 jira jira 42 Feb 22 14:19 atlassian
drwxrwxr-x. 2 jira jira 52 Feb 22 14:20 jira
[jira@DevopsRoles ~]$ tree -d -L 3 atlassian/
atlassian/
├── application-data
│   └── jira
│       ├── caches
│       ├── data
│       ├── export
│       ├── import
│       ├── log
│       ├── plugins
│       └── tmp
└── jira
    ├── atlassian-jira
    │   ├── aui-examples
    │   ├── decorators
    │   ├── func
    │   ├── images
    │   ├── includes
    │   ├── META-INF
    │   ├── portlets
    │   ├── secure
    │   ├── static
    │   ├── static-assets
    │   ├── styles
    │   ├── template
    │   ├── templates
    │   ├── ui
    │   ├── views
    │   └── WEB-INF
    ├── bin
    ├── conf
    │   └── Catalina
    ├── external-source
    ├── jre
    │   ├── bin
    │   ├── lib
    │   └── man
    ├── lib
    ├── licenses
    ├── logs
    ├── temp
    ├── tomcat-docs
    ├── webapps
    └── work
        └── Catalina

43 directories
[jira@DevopsRoles ~]$
Go to JIRA Installation Directory:
[jira@DevopsRoles ~]$ cd ~/atlassian/jira/
[jira@DevopsRoles jira]$ sudo ./bin/start-jira.sh
start-jira.sh and stop-jira.sh in folder bin
Check JIRA should already be running.
[jira@DevopsRoles jira]$ ps ux | grep jira | grep java | grep -v grep
jira      3184 10.8 24.0 4971344 358732 pts/0  Sl   14:20   0:29 /home/jira/atlassian/jira/jre//bin/java -Djava.util.logging.config.file=/home/jira/atlassian/jira/conf/logging.properties -Djava.util.logging.manager=org.apache.juli.ClassLoaderLogManager -Xms384m -Xmx2048m -XX:InitialCodeCacheSize=32m -XX:ReservedCodeCacheSize=512m -Djava.awt.headless=true -Datlassian.standalone=JIRA -Dorg.apache.jasper.runtime.BodyContentImpl.LIMIT_BUFFER=true -Dmail.mime.decodeparameters=true -Dorg.dom4j.factory=com.atlassian.core.xml.InterningDocumentFactory -XX:-OmitStackTraceInFastThrow -Djava.locale.providers=COMPAT -Datlassian.plugins.startup.options= -Djdk.tls.ephemeralDHKeySize=2048 -Djava.protocol.handler.pkgs=org.apache.catalina.webresources -Dorg.apache.catalina.security.SecurityListener.UMASK=0027 -Xloggc:/home/jira/atlassian/jira/logs/atlassian-jira-gc-%t.log -XX:+UseGCLogFileRotation -XX:NumberOfGCLogFiles=5 -XX:GCLogFileSize=20M -XX:+PrintGCDetails -XX:+PrintGCDateStamps -XX:+PrintGCTimeStamps -XX:+PrintGCCause -XX:+ExplicitGCInvokesConcurrent -Dignore.endorsed.dirs= -classpath /home/jira/atlassian/jira/bin/bootstrap.jar:/home/jira/atlassian/jira/bin/tomcat-juli.jar -Dcatalina.base=/home/jira/atlassian/jira -Dcatalina.home=/home/jira/atlassian/jira -Djava.io.tmpdir=/home/jira/atlassian/jira/temp org.apache.catalina.startup.Bootstrap start

[vagrant@DevopsRoles ~]$ sudo netstat -nplt | grep 8080
tcp6       0      0 :::8080                 :::*                    LISTEN      3184/java
Create user MySQL
mysql -u root -p
mysql> CREATE DATABASE jiradb CHARACTER SET utf8 COLLATE utf8_bin;
mysql> CREATE USER 'jiradb'@'localhost' IDENTIFIED BY 'Abc123!@#';
mysql> GRANT ALL PRIVILEGES ON jiradb.* TO 'jiradb'@'localhost' WITH GRANT OPTION;
we need a JDBC connector driver for MySQL
[jira@DevopsRoles ~]$ cd && mkdir tmp
[jira@DevopsRoles ~]$ cd tmp/
[jira@DevopsRoles tmp]$ wget http://dev.mysql.com/get/Downloads/Connector-J/mysql-connector-java-5.1.29.tar.gz
[jira@DevopsRoles tmp]$ tar xfp mysql-connector-java-5.1.29.tar.gz
[jira@DevopsRoles tmp]$ find mysql-connector-java-5.1.29 -name "mysql-connector-java-*-bin.jar"
mysql-connector-java-5.1.29/mysql-connector-java-5.1.29-bin.jar
[jira@DevopsRoles tmp]$ cp mysql-connector-java-5.1.29/mysql-connector-java-5.1.29-bin.jar ~/atlassian/jira/lib/
[jira@DevopsRoles tmp]$ cd
Restart JIRA
$ sudo ./atlassian/jira/bin/stop-jira.sh
$ sudo ./atlassian/jira/bin/start-jira.sh
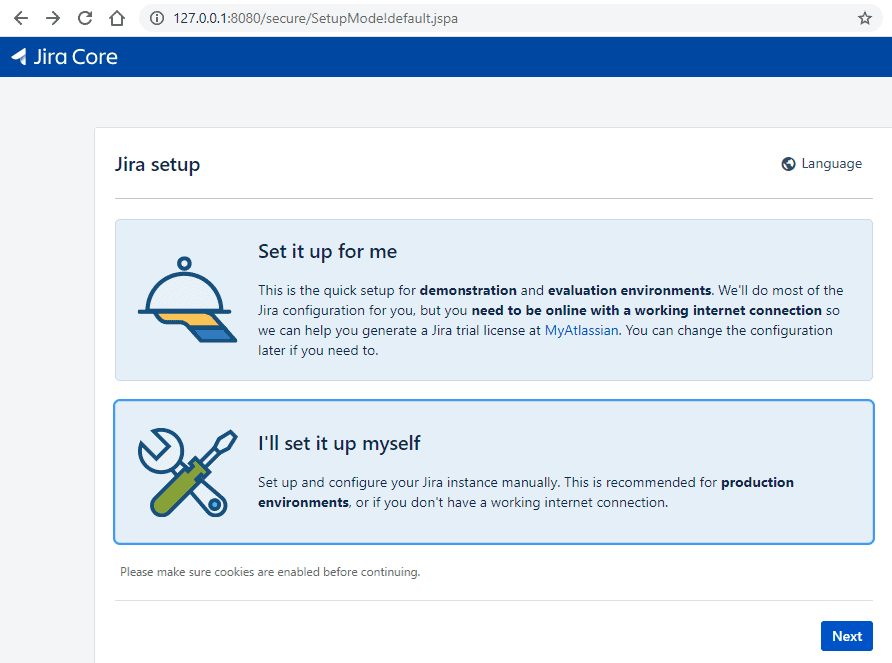
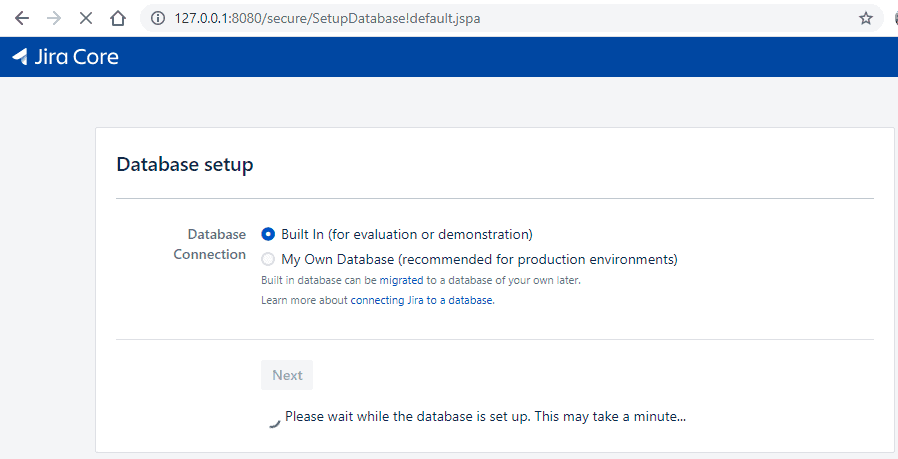
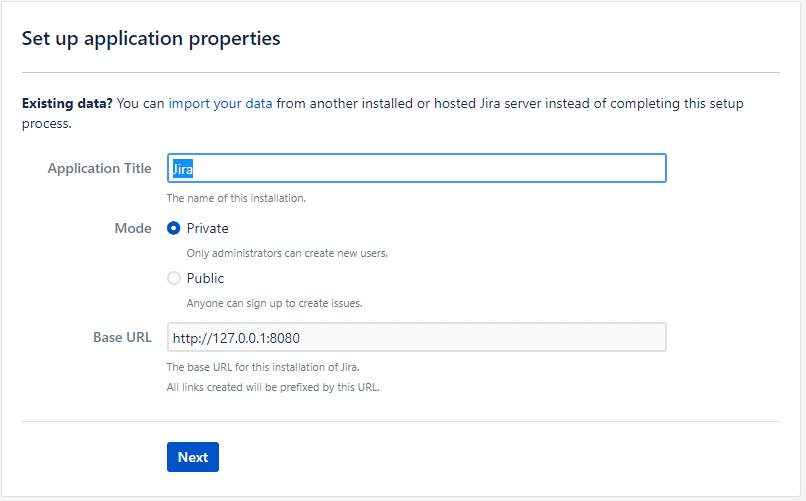
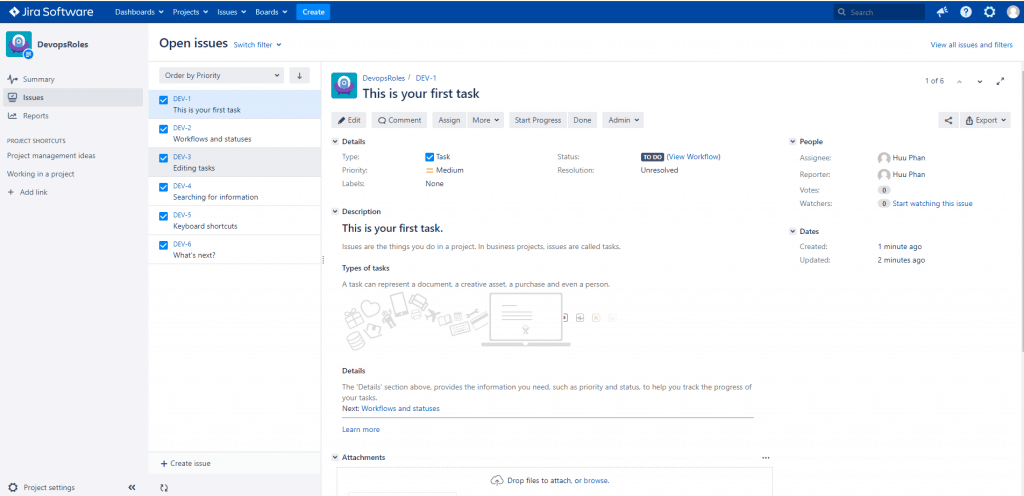
Access Browser Jira


Conclusion
JIRA installing and configuring on CentOS. I hope will this your helpful. Thank you for reading the DevopsRoles page!
