In this guide, we’ll walk you through the process of configuring a VPN Site-to-Site from your home network to AWS, enabling seamless and secure communication between the two environments.

Table of Contents
Understanding VPN Site-to-Site
Before diving into the setup process, let’s briefly understand what a VPN Site-to-Site connection entails.
A VPN Site-to-Site connection establishes a secure, encrypted tunnel between two networks, allowing them to communicate as if they were directly connected. In our case, we’ll be connecting our home network to an AWS Virtual Private Cloud (VPC), effectively extending our network infrastructure to the cloud.
Prerequisites
Before proceeding, ensure you have the following prerequisites in place:
- An AWS account with appropriate permissions to create VPC resources.
- public IP (find public IP of home network at link )
Configure AWS
- Create VPC with a private subnet
- Create a EC2 and config inboud for SG
- Creating a virtual private gateway
- Setting route table
- Site to Site VPN settings and download vendor config file
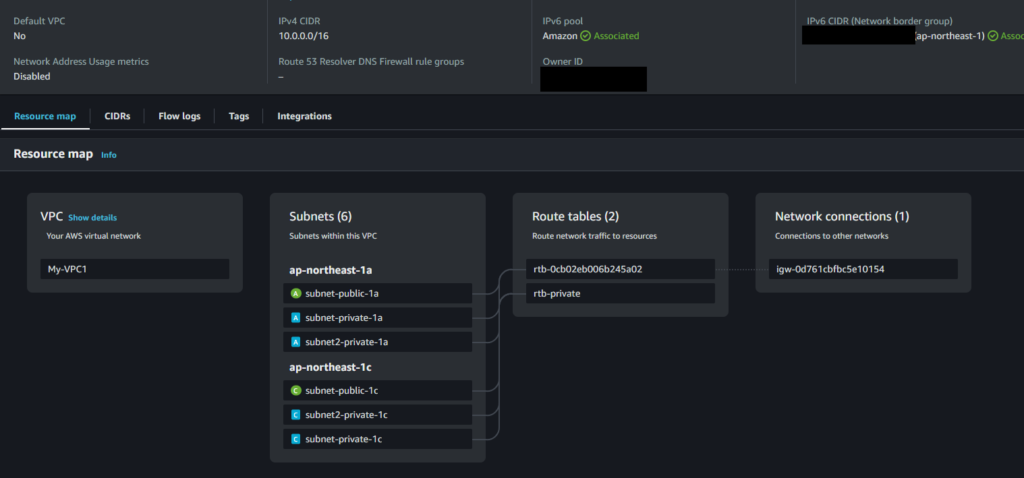
Create a new VPC with a CIDR block that does not conflict with your home network.
IPv4 CIDR: 10.0.0.0/16
Subnet private :subnet-09ea90bc4428089cc / subnet-private-1a, 10.0.32.0/20
Create a new EC2 in subnet-private-1 for test if you have not
Private IP : 10.0.44.45
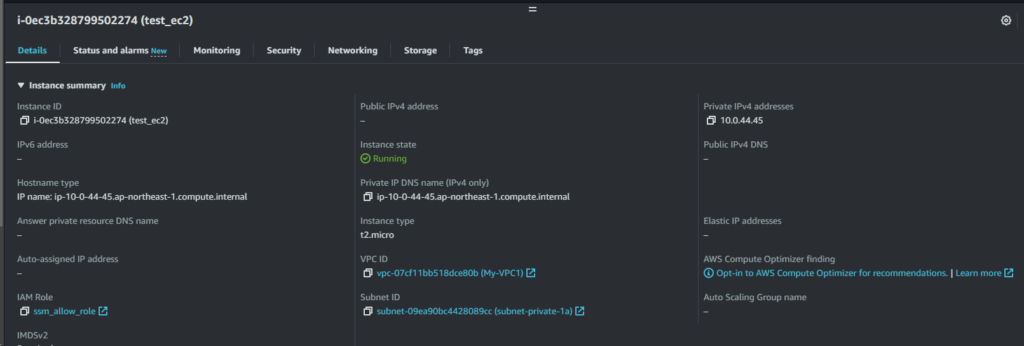
EC2 sercurity group inboud setting(allow ping test only)

Creating a virtual private gateway

Attach to the VPC that will be the Site to Site VPN connection destination.

Edit route table
In the route table of the private subnet connection destination VPN, configure routing for the local network segment with the virtual private gateway as the destination.

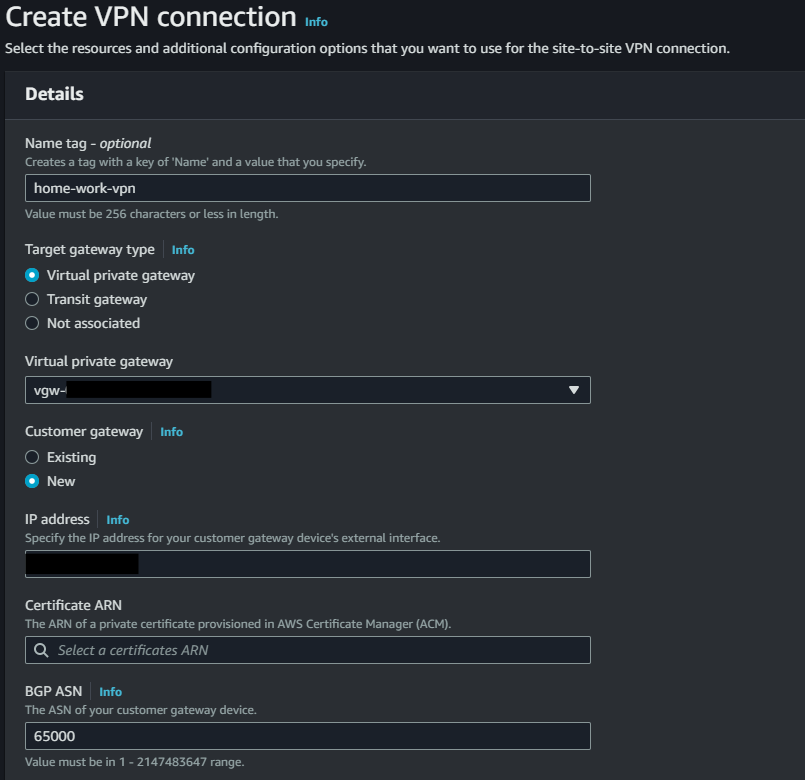
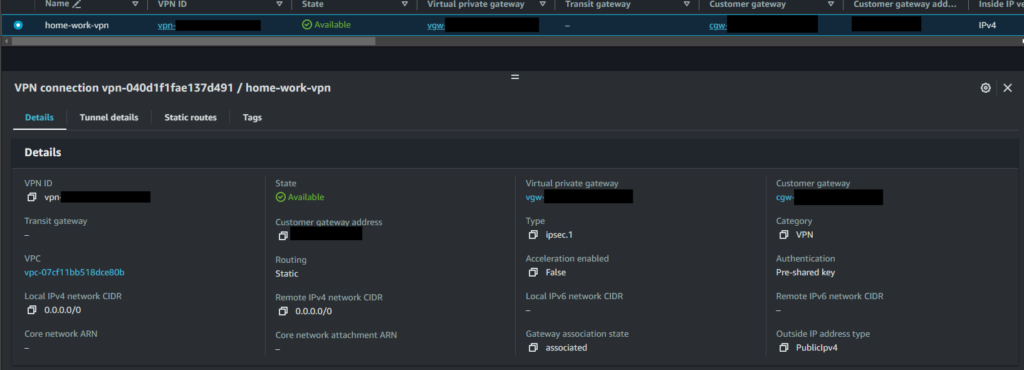
Site to Site VPN settings
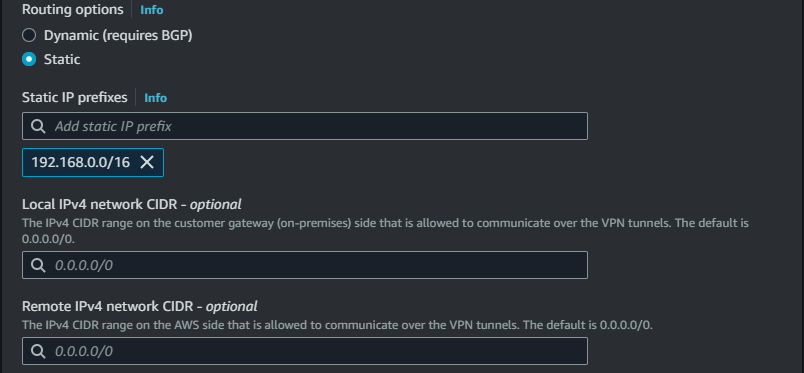
IP address : Your public IP adress
Static IP prefixes : Local network segment(192.168.0.0/16)
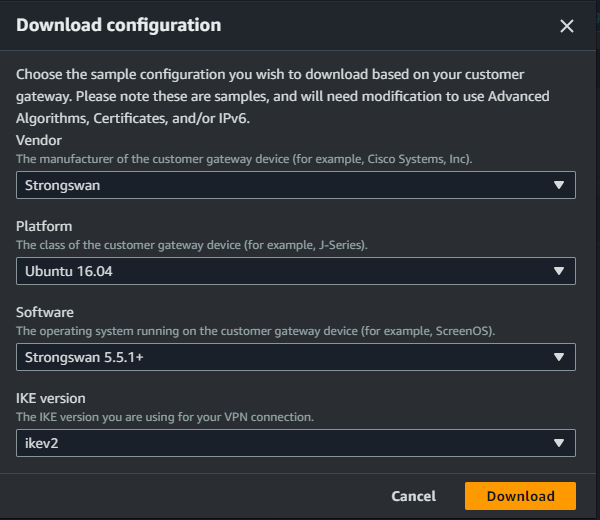
VPN config download
Chose Vendor is Strongwan and IKE version is ikev2
Configure the following settings according to the downloaded file.
Configure Local network
- Stop firewall
- Kernel parameter setting
- strongswan installation
- strongswan settings
- strongswan start
- Verify Connectivity
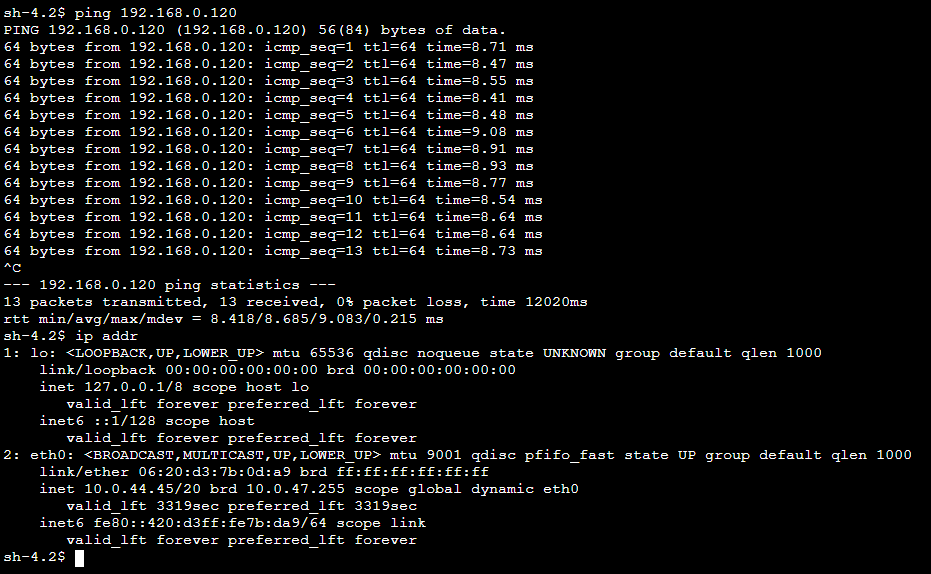
My Ubuntu server IP : 192.168.0.120
VPN server setting
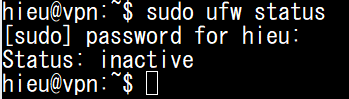
Stop firewall
Kernel parameter setting
sudo vi /etc/sysctl.conf

net.ipv4.ip_forward = 1
net.ipv6.conf.all.forwarding = 1
net.ipv4.conf.all.accept_redirects = 0
net.ipv4.conf.all.send_redirects = 0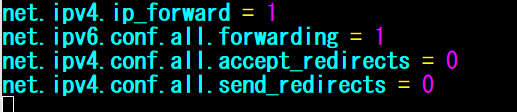
sudo sysctl -p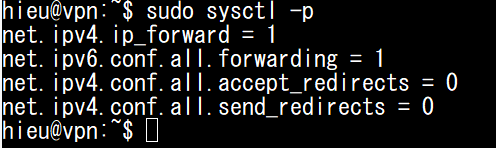
strongswan installation
Install with the following command.
sudo apt update
sudo apt install -y strongswan
strongswan settings (/etc/ipsec.conf)
Create a new file at /etc/ipsec.conf if doesn’t already exist, and then open it. Add the following under the ‘config setup’ section:
sudo vi /etc/ipsec.conf

	charondebug="all"
	uniqueids=yes
	strictcrlpolicy=no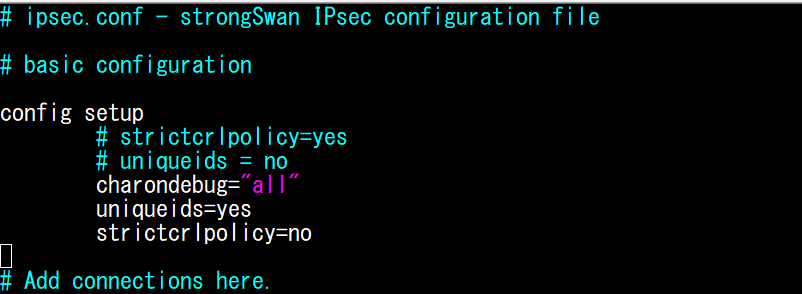
Append the following configuration to the end of the file:
conn Tunnel1
	type=tunnel
	auto=start
	keyexchange=ikev2
	authby=psk
	leftid=<Global IP address of connection source>
	leftsubnet= <On-premises CIDR Range>
	right=<Connection destination global IP address/Tunnel 1>
	rightsubnet= <VPC CIDR range>
	aggressive=no
	ikelifetime=28800s
	lifetime=3600s
	margintime=270s
	rekey=yes
	rekeyfuzz=100%
	fragmentation=yes
	replay_window=1024
	dpddelay=30s
	dpdtimeout=120s
	dpdaction=restart
	ike=aes128-sha1-modp1024
	esp=aes128-sha1-modp1024
	keyingtries=%forever
conn Tunnel2
	type=tunnel
	auto=start
	keyexchange=ikev2
	authby=psk
	leftid=<Global IP address of connection source>
	leftsubnet= <On-premises CIDR Range>
	right=<Connection destination global IP address/Tunnel 2>
	rightsubnet= <VPC CIDR range>
	aggressive=no
	ikelifetime=28800s
	lifetime=3600s
	margintime=270s
	rekey=yes
	rekeyfuzz=100%
	fragmentation=yes
	replay_window=1024
	dpddelay=30s
	dpdtimeout=120s
	dpdaction=restart
	ike=aes128-sha1-modp1024
	esp=aes128-sha1-modp1024
	keyingtries=%forever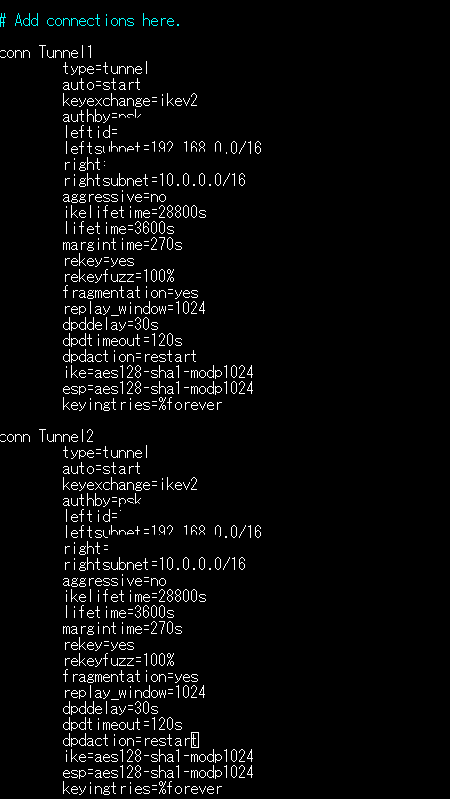
strongswan setting(/etc/ipsec.secrets)
Create a new file at /etc/ipsec.secrets if it doesn’t already exist, and append this line to the file. This value authenticates the tunnel endpoints:
sudo vi /etc/ipsec.secrets
strongswan start
sudo ipsec restart
sudo ipsec status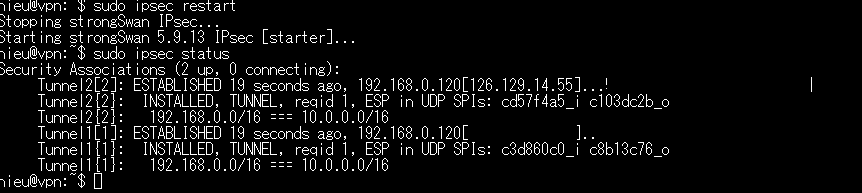

Verify Connectivity
ping IP of private EC2 from local Ubuntu server
ping 10.0.44.45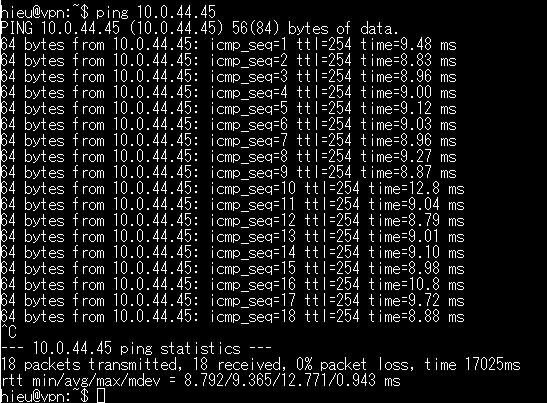
To test connect from EC2 private instance to local ubuntu server, you can install SSM-agent for EC2
Conclusion
By following these steps, you’ve successfully set up a VPN Site-to-Site connection from your home network to AWS, enabling secure communication between the two environments. This setup enhances security by encrypting traffic over the internet and facilitates seamless access to cloud resources from the comfort of your home network. Experiment with different configurations and explore additional AWS networking features to optimize performance and security based on your specific requirements.
Thank you for reading the DevopsRoles page!